
My chainmail (also called chainmaille or simply just maille) journey started a few days ago, with the arrival of a birthday present from my father. He had gotten me the Chainmail Joe kit, something which I’d been eyeing for quite some time.
Day 1 – I started off with learning the basic European 4-in-1 weave. I used the Chainmail Joe book that came in the kit, as well as Lauren Does Cosplay’s beginner tutorial. They suggested the same method: putting 4 closed rings on 1 open ring to make a unit; making multiple units; then connecting the units with more open rings. I found this pretty difficult at first, and it took me around forty minutes to make one 5×4 rectangle. Later in the day, I did about forty more minutes of work and about doubled the rectangle. It was still time-consuming, but I felt like the process went smoother.

My first piece!
Day 2 – Now that I felt more comfortable with the basics, I went searching for a project to make. As someone with a fiber arts background, I was expecting to find patterns for specific items that would give me instructions for how to connect pieces and make specific shapes. After some searching, I discovered that there don’t seem to be patterns for chainmail as such—at least, not that I could find. I attempted to make a triangle, following this tutorial, but it was extremely difficult for me to get the orientation right and to loop the open rings through all four of the closed ones. I found that I was getting very frustrated with my lack of success and direction, so I took a break until the next day.
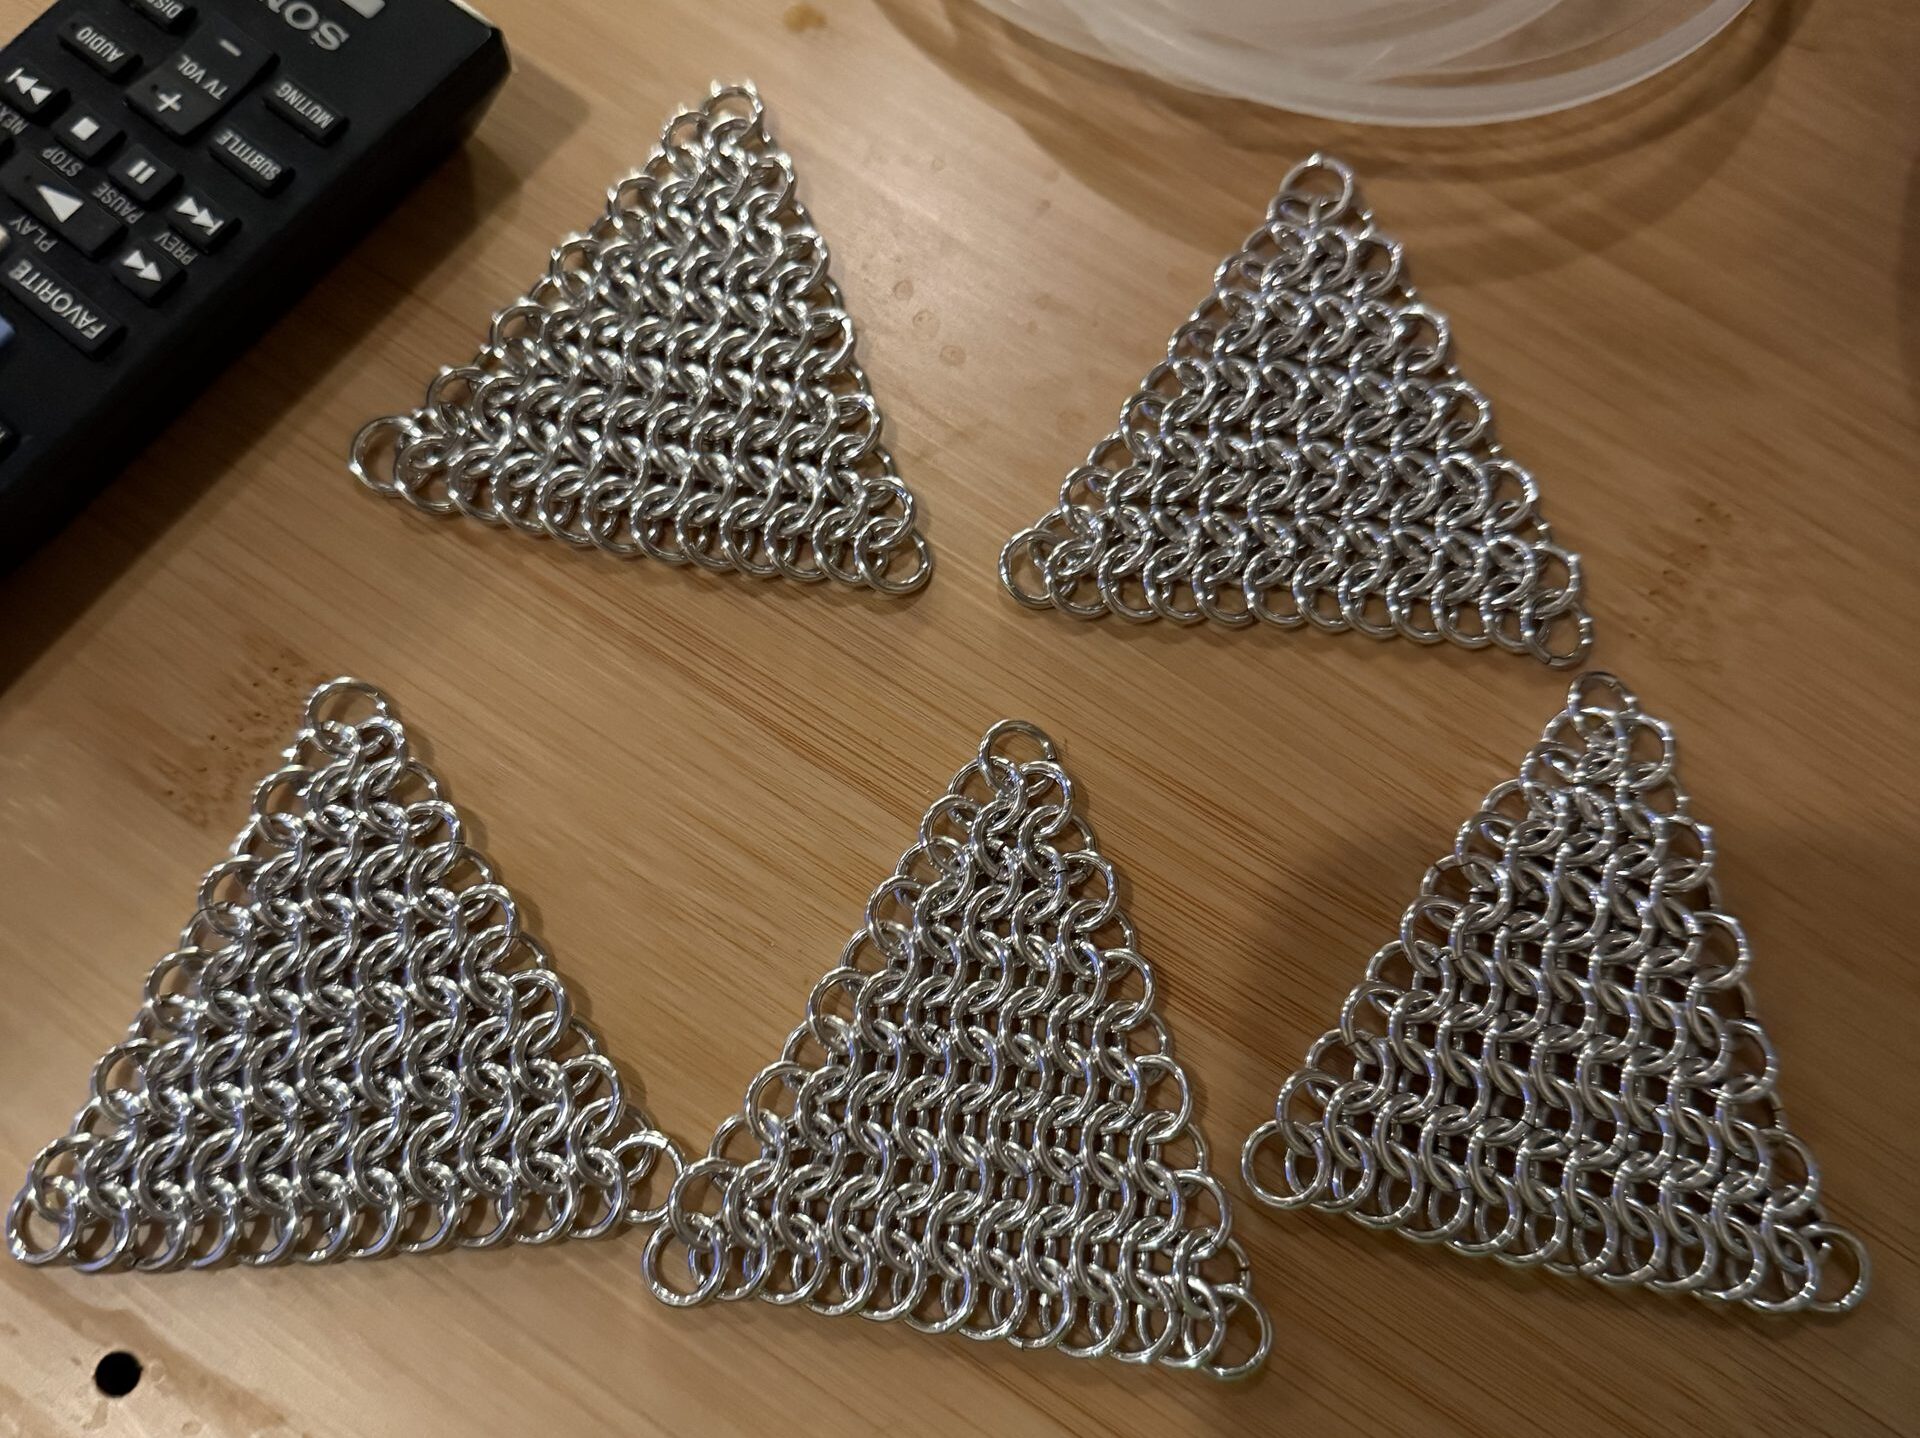
Day 3 – In my searching for patterns the day before, I found a tutorial by Megan Ciafre on how to make European 4-in-1 triangles. I followed her instructions and found that it went by much smoother than my previous attempts at the weave. Her method differs from the previous one in that it’s a one-ring-at-a-time method, which I think is the main contributor to how much easier it was for me. I decided to make multiple triangles with sides of 12 rings, which I will later join to make a jester collar.
Day 4 – I continued making triangles, and by the end of the day I had five whole triangles finished! The one-ring-at-a-time method has truly made the experience much better for me, so I think I’m going to try the regular European 4-in-1 again using this method.

My finished triangles!
I’m very excited to continue working on this new hobby, and I’ll be certain to share more of my progress!
Leave a Reply